
Overview
Stream your events live through Jetstream. Stream once to Jetstream and restream them to any number of other platforms, like Facebook, YouTube, and more. We offer options for events or 24/7.
How to
Add a Live stream
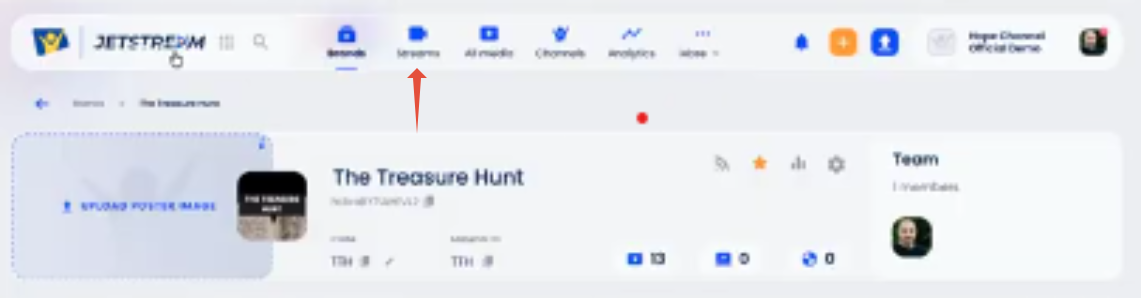
- At the top of the page, click on the Streams icon.
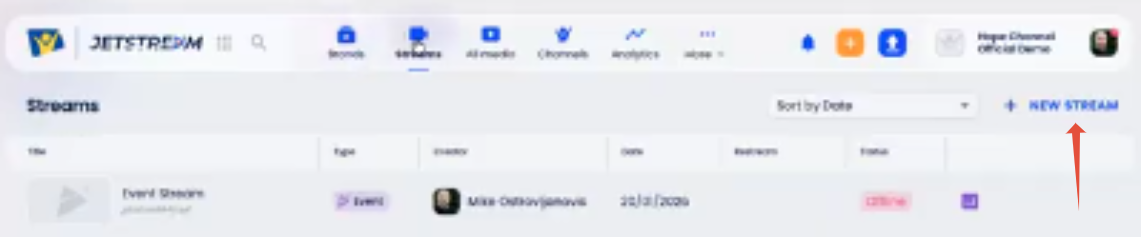
- Then click on the link to the right, + New Stream.
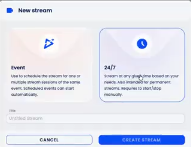
- Choose Event or 24/7. The only difference is that with 24/7 there isn't a record button, so you can't record, because it doesn't end. We will demo an Event based live stream.
Use the Record Stream toggle
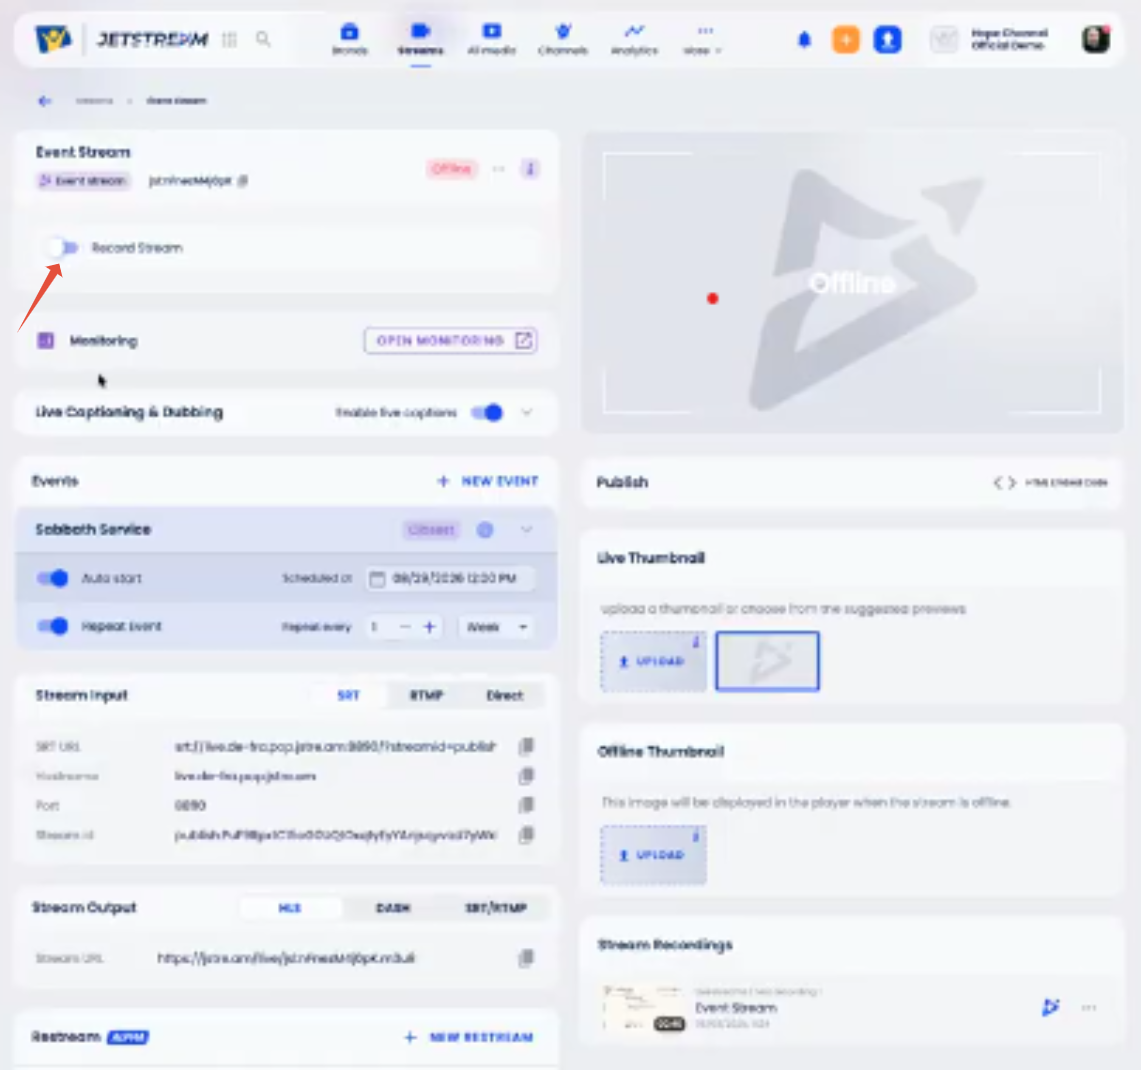
- Record Stream toggle: Switch the toggle to record the stream.
- As an admin, you have a Monitoring option.
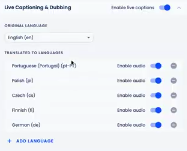
- Live Captioning & Dubbing: This can be enabled with the toggle and expanded. It displays the original language and about 20 languages supported for live translation and captions. You can choose if you want captions and also if you want audio. The option here only creates one voice and it's a standard voice. There isn’t the option to choose the voice here.
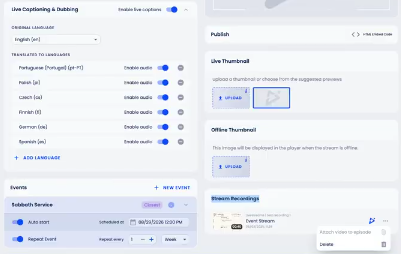
- Stream Recordings: These are located on the lower right. A stream recording has only the original stream that comes in the original language. You can click the Jetstream icon (on Event Stream) and select Attach video to episode. This will attach this recording to an episode in your brands. You can only attach it once. Then it's grayed out.
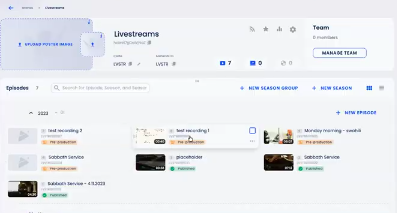
- In this case, it is in the brand Livestreams, test recording one.
- Click on the Episode.
.
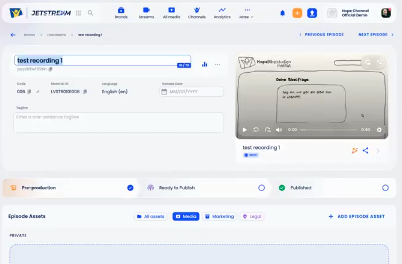
- The video appears here in the main box now. You can give it a new name.
- You can click on the title below the main video or on the right arrow to Open the detailed media page.
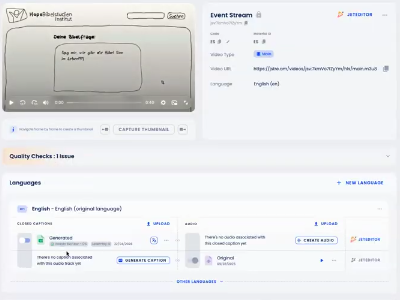
- Languages: Under Languages you can generate captions, do a translation and so on. See the link at the bottom of this page for Using Languages for more information.
- All of that was possible with Record Stream. Note: The Live Captioning & Dubbing is not part of the recording. They only appear while live.
Add Events
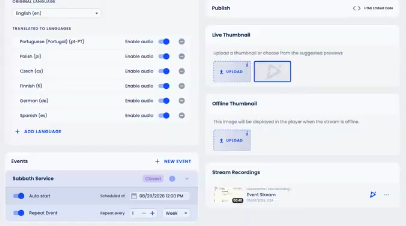
- Events: Under Events, click the + New Event link. Events are not supposed to overlap. But there can be multiple events in that Event and multiple events per day, but they cannot be overlapping in time. You would need to create a separate Event Stream to do that.
- Publish: Click the Embed icon across from Publish.
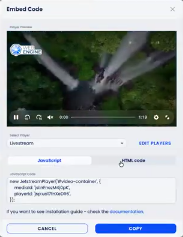
- Embed Code: Jetstream creates a unique address with a unique ID for every event stream that can be used to publish either as JavaScript or HTML code. Click the Copy button for either code, then paste where needed. Click on the X on the upper right to close the modal box.
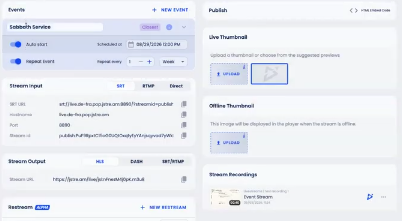
- Auto Start toggle: An event can be set to Auto Start. This will send a video signal to Jetstream at exactly that time. The same stream can be embedded on your website multiple times during the week. Expand the dropdown arrow across from the title of your Event. Once this is set, I don't need to press a button to start the stream.
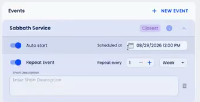
- Repeats: You can set it to repeat. Choose the frequency with the fields.
- Description field: You can add a description.
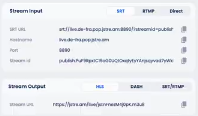
- Stream Input: Select from SRT, RTMP or Direct and add the information for the stream signal. Signals can be sent from OBS, Blackmagic, ATM mini mixers or any hardware encoder that works on RTMP or SRT.
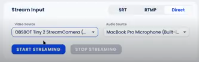
- Direct: If you select this option, you can expand the video source, you can choose from the cameras that are connected to your computer. Click the Start Streaming button and when done, click the Stop Streaming button.

- Stream Output: This is used if you want to send your stream somewhere else, to additional software, like a playout system. It's higher functionality, seldom needed except by large media ministries.
- Restream: This is used if you want to send one signal to Jetstream as well as stream to YouTube and Facebook at the same time. You send only one signal to Jetstream and then Jetstream takes care of sending it to two or multiple other locations.
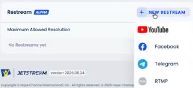
- Click + New Restream. Choose YouTube, Facebook, Telegram, or RTMP. It can be any RTMP signal.
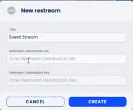
- Fill in the Title, URL and the Key and it will be sent to that location. Click the Create button.
- You can have multiple YouTube channels and/or Facebook channels at the same time, as in the case of a large event.
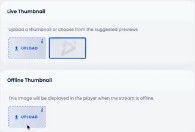
- Live Thumbnail: Set your live thumbnail for videos that are live.
- Offline Thumbnail: Set your offline thumbnail.

- This is the default Offline Thumbnail. It can be edited.
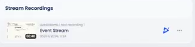
- Stream Recordings: The stream recordings were mentioned earlier.

- Publish: Publish was mentioned earlier.
- Note: Standard maximum allowed resolution is 1080p but Jetstream reserves the right to reduce it to 720p. This would be done if the server usage is high.