
Overview
Jetstream Studio is an Adventist cutting-edge media management platform to power your digital media workflows and drive engagement with your audience. Media stored in Jetstream Studio can be published to YouTube, to Facebook, to Web Engine, or embedded elsewhere.
How to
Log in to Jetstream Studio
Go to hope.cloud. Use the Login link at the upper right and log in.
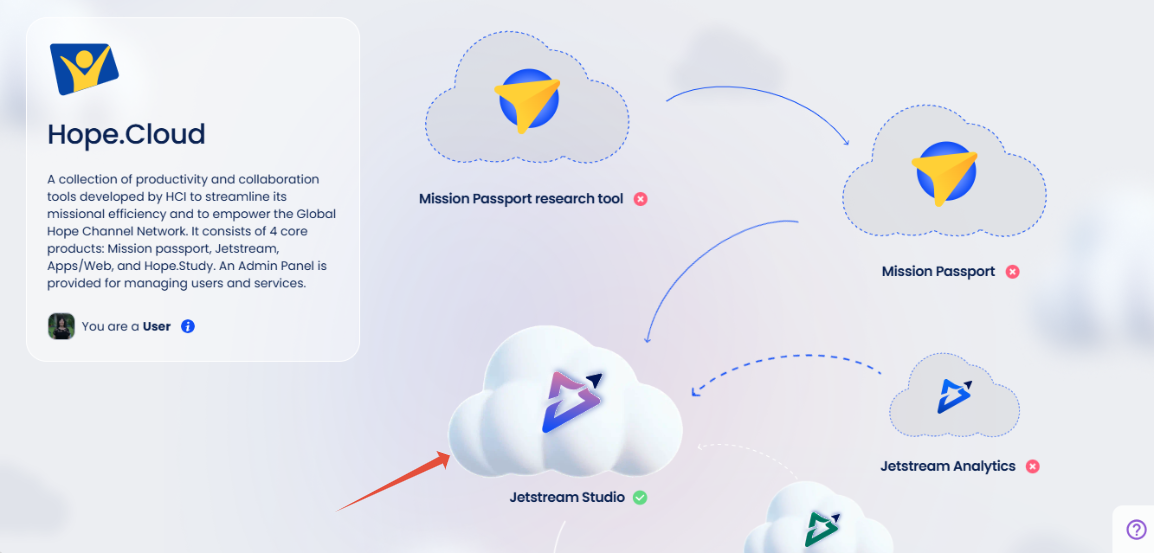
Click on the cloud that says Jetstream Studio. A dialog box appears on the left side. Click on the blue Enter link at the top.
Add a New Brand
The first thing you need to do is create a new brand. Every video or audio has to have a brand. A Brand is the identity for your group of videos or audios. Brands are a way of sorting your files if you are creating a show or a series.
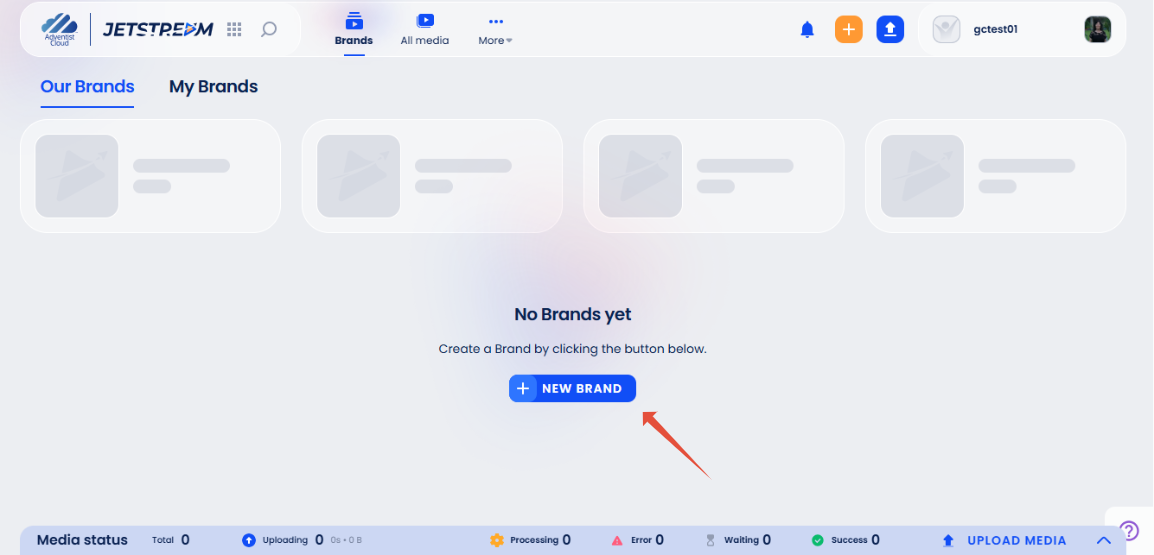
Select the blue button in the center to add a New Brand. (After you have added a brand for the first time, you will see a blue add New Brand link on the right.)
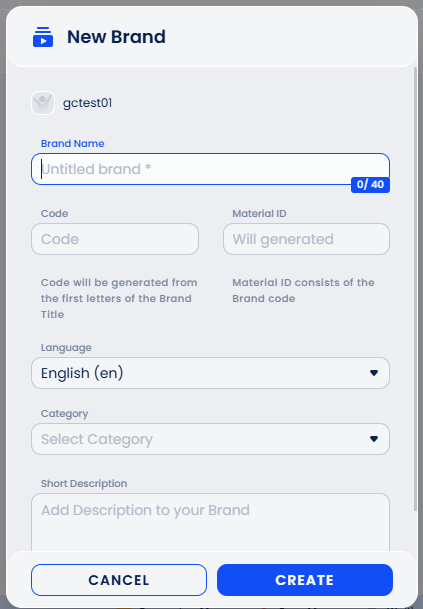
A modal box will open. Fill in the fields and click on the Create button.
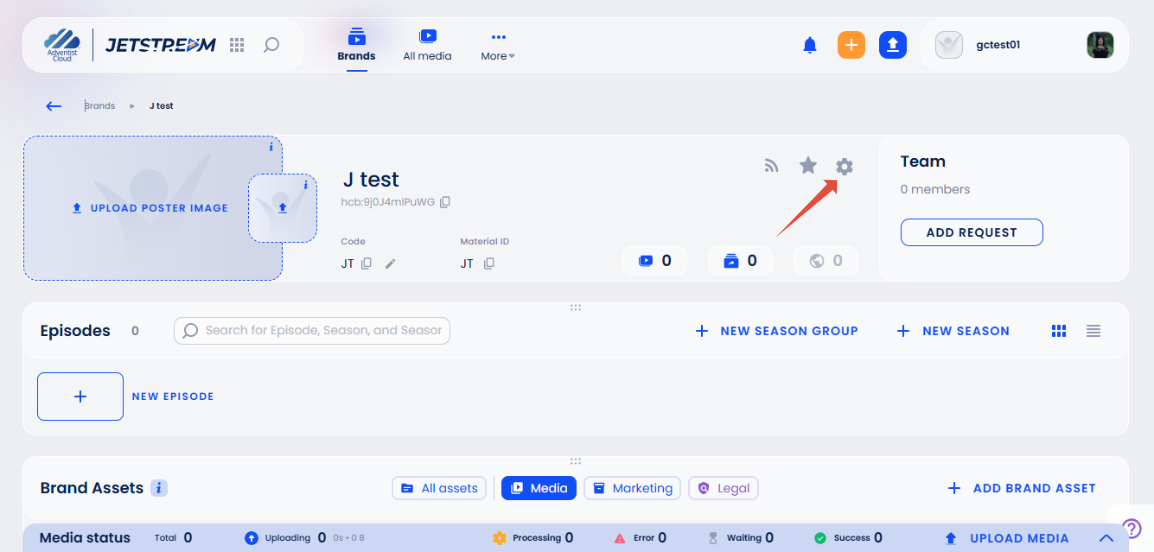
The Brand page will open. Fill in the fields:
- Images: Upload a Poster image and a small image. The small image is used for the brand.
- Team: You can do an Add Request for members of your team.
- Episodes: See the Add a New Episode link below.
- Brand Assets: Here you can upload additional files. You will receive a link to embed into Web Engine for your uploaded files.
- Tagline: You can enter up to 1000 characters.
- Short Description: You can enter up to 500 characters.
- Long Description: You can enter up to 1500 characters.
- Tags: You can add tags.
- Change log: See the changes made to your Brand at the bottom right.
- Brand Settings: The icon is on the top right next to Team, as well as other information. If you click on Brand Settings, a left-side menu of options appears. At the bottom left, select the link Remove Brand if so desired.
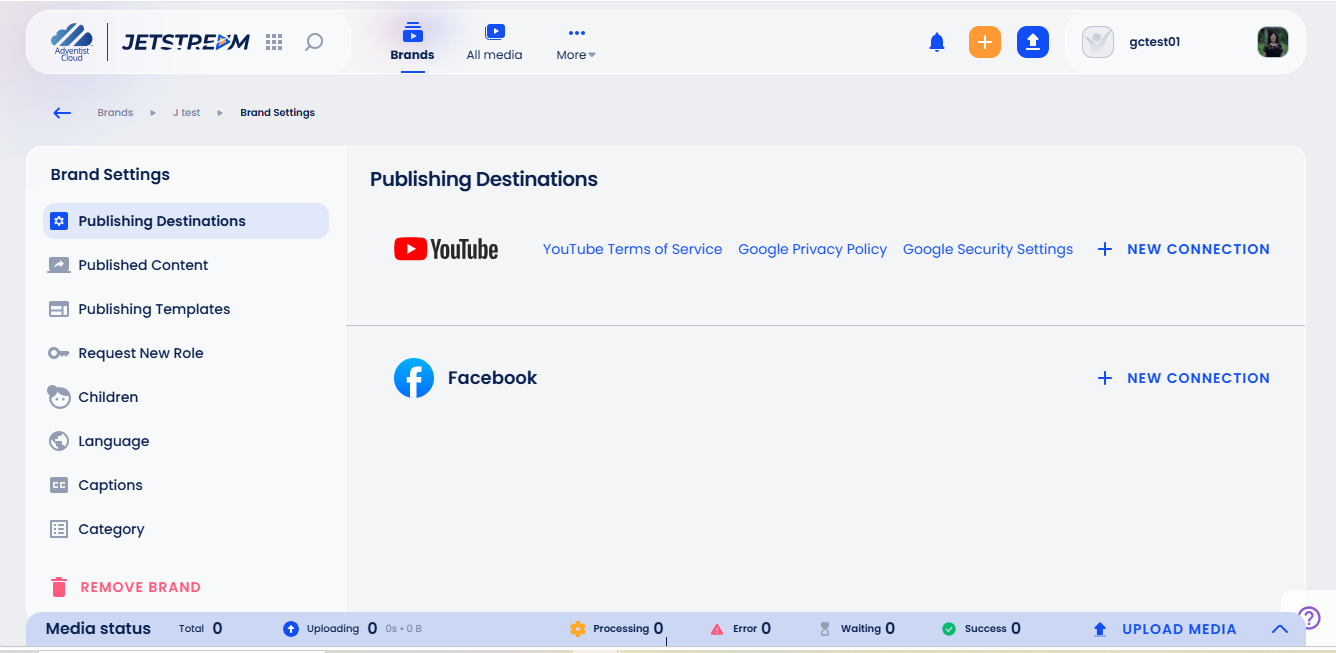
Add a New Season (optional)
If you plan to upload a considerable amount of content at steady intervals, consider creating Seasons.
Click on the blue link on the right to add a New Season. Add your title in the field and press Enter on your keyboard.
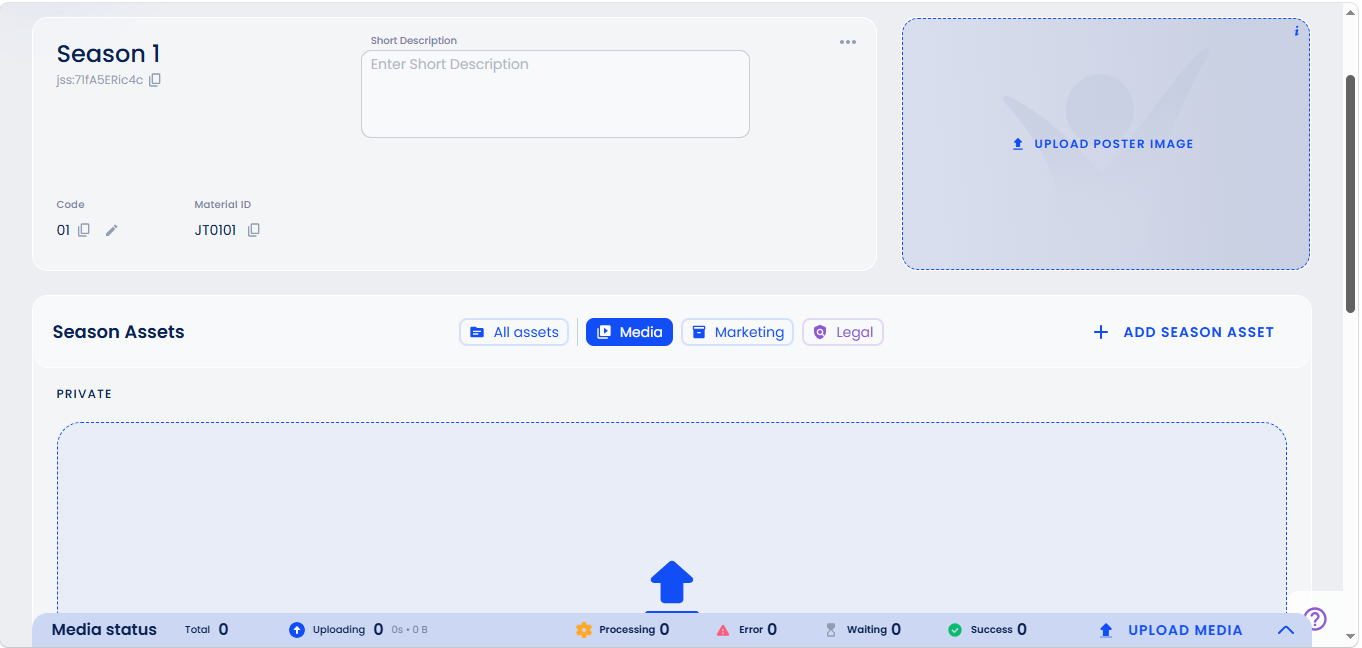
Fill in the other Season details fields as desired. You can add assets.
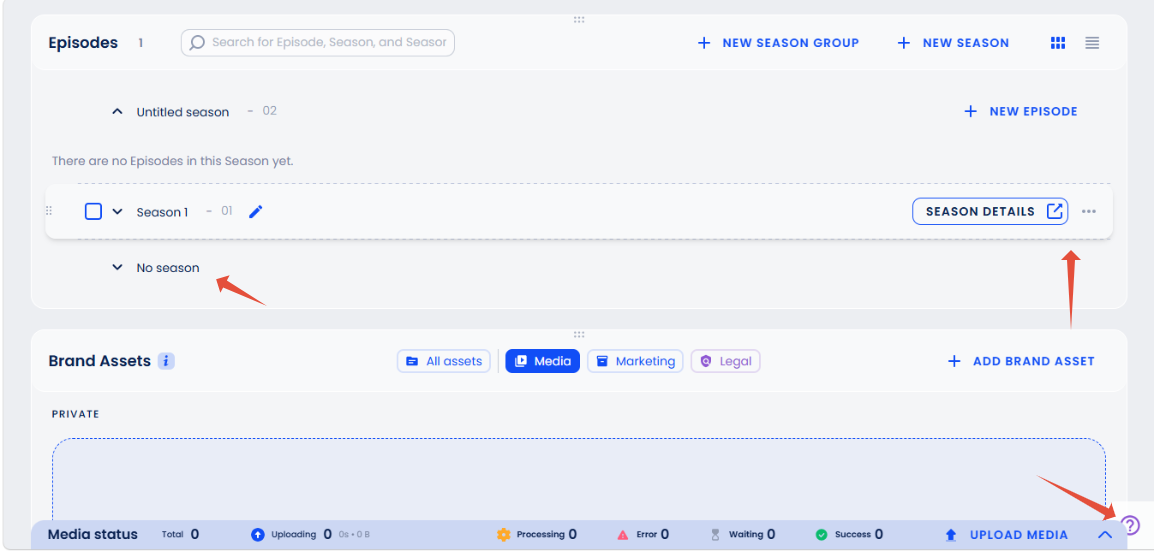
If you hover over the Season title once created, the Season Details link appears. If you click on the 3 dots next to the Season Details link, you can Remove the Season.
Note: You can also go directly to the Add New Episode link across from the No Season option.
Now you are ready to upload a video or audio. See the link below.
Note: On the lower right, you can click on the question mark (?) icon. If you click on the Read documentation option, you can choose between English and Spanish Versions. There are also options to Contact Support and Make a Report (for a bug).